How to Install & Use Codex Dream Skin (Step-by-Step)
Install Codex Dream Skin on macOS and Windows, paste prompt presets, switch skins instantly, and fix common 'not applying' problems.
Codex Dream Skin is the fastest way to change how Codex Desktop looks, and installing it takes about five minutes. This guide walks through setup on macOS and Windows, how to apply preset prompts, switch skins, and fix the two most common problems people hit.
What you need
- Codex Desktop installed (macOS 12+ or Windows 10+)
- About 5 minutes
- No paid license — Dream Skin is free and open source
Step 1 — Get Dream Skin
Download the latest release from the official Fei-Away/Codex-Dream-Skin repository. You can either:
- Clone the repo and run it from source, or
- Grab the packaged release for your platform from the Releases page.
If you’re not sure which version to pick, the release build is the friendliest for daily use.
Step 2 — Launch and confirm it’s active
Open Dream Skin and check that it’s set as your active applier for Codex. You should see the engine status indicator switch to “connected” or “active”.
If Dream Skin and another engine (like Codex Skin Manager) are both installed, make sure only one is set as the primary applier — the last one that applies wins, and a silent “why is my skin not changing?” is almost always this conflict.
Step 3 — Apply a skin with a prompt
The core loop is copy-paste:
- Open any skin page in the Codex Skin Index.
- Copy the install prompt (most skins show one, e.g. “apply the Amber Nocturne dark theme — warm amber on deep charcoal for night coding”).
- Paste it into Codex Desktop.
- Dream Skin interprets the prompt and applies the matching preset — usually instantly, no restart.
Trying Amber Nocturne or Clear Glass this way shows the loop in under a minute.
Step 4 — Switch or restore the default
- Switch skins: paste a new prompt — Dream Skin replaces the active preset.
- Restore the default look: use the engine’s “restore default” button to go back to the original Codex theme.
Step 5 — Manage presets you like
When you find a look worth keeping, save the preset in Dream Skin’s preset list. This is where you’ll notice Dream Skin’s one weakness — it’s great at applying, weaker at organizing a large library. For heavy collectors, pairing it with a gallery-style manager is the common fix.
Troubleshooting
“The skin isn’t applying”
Check, in order:
- Engine conflict — is another engine also set as active applier? Disable it.
- Version mismatch — Dream Skin interprets prompts; a slightly different prompt can land on a different preset. Copy the exact prompt from the skin page.
- Restart — a few engines cache their theme state; a quick restart of Codex resolves it.
“I can’t uninstall it”
See the dedicated remove Dream Skin guide for a clean uninstall on both platforms.
“Prompts apply but look different than the preview”
That’s interpretation variance, inherent to prompt-based engines. For pixel-exact results, use a file-based engine or the deterministic Skin Manager.
Related
- Codex Dream Skin Review — is it worth installing?
- Best Codex Dream Skin Alternatives — six other engines compared
- How to Install Codex Skins — every install method across all engines
Skins mentioned in this post
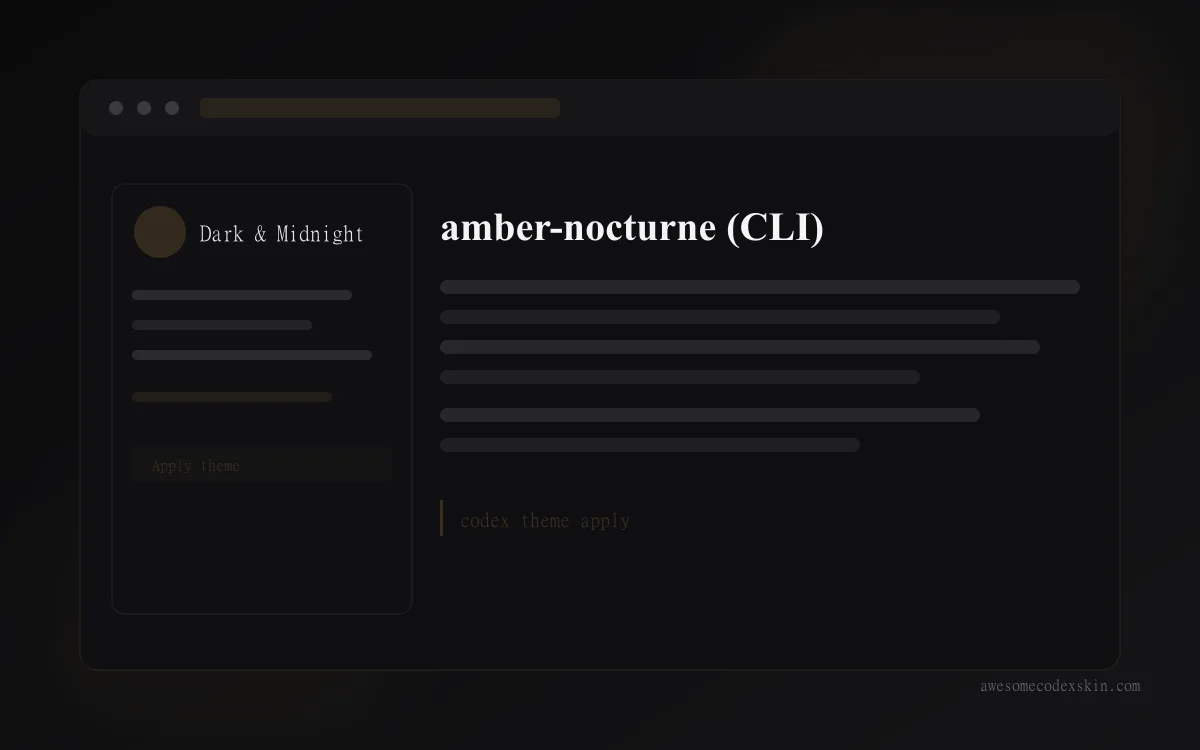 amber-nocturne (CLI) ~410 installs (est.)
 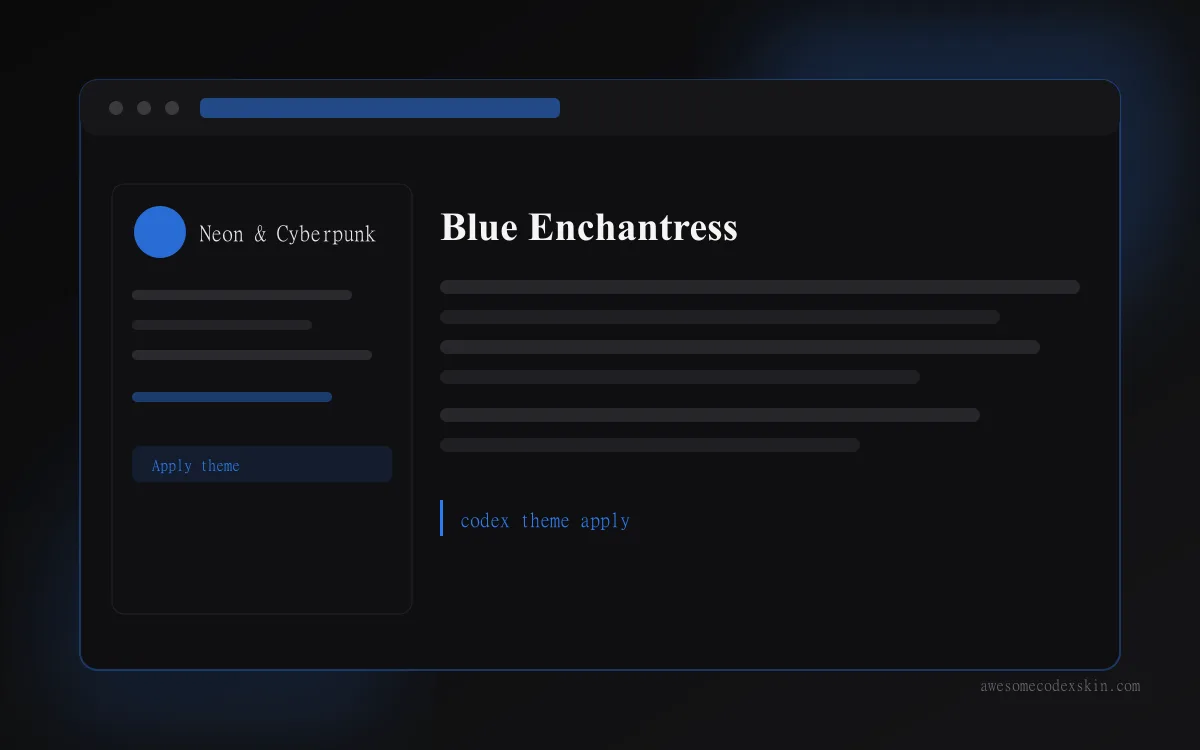 Blue Enchantress ~510 installs (est.)
 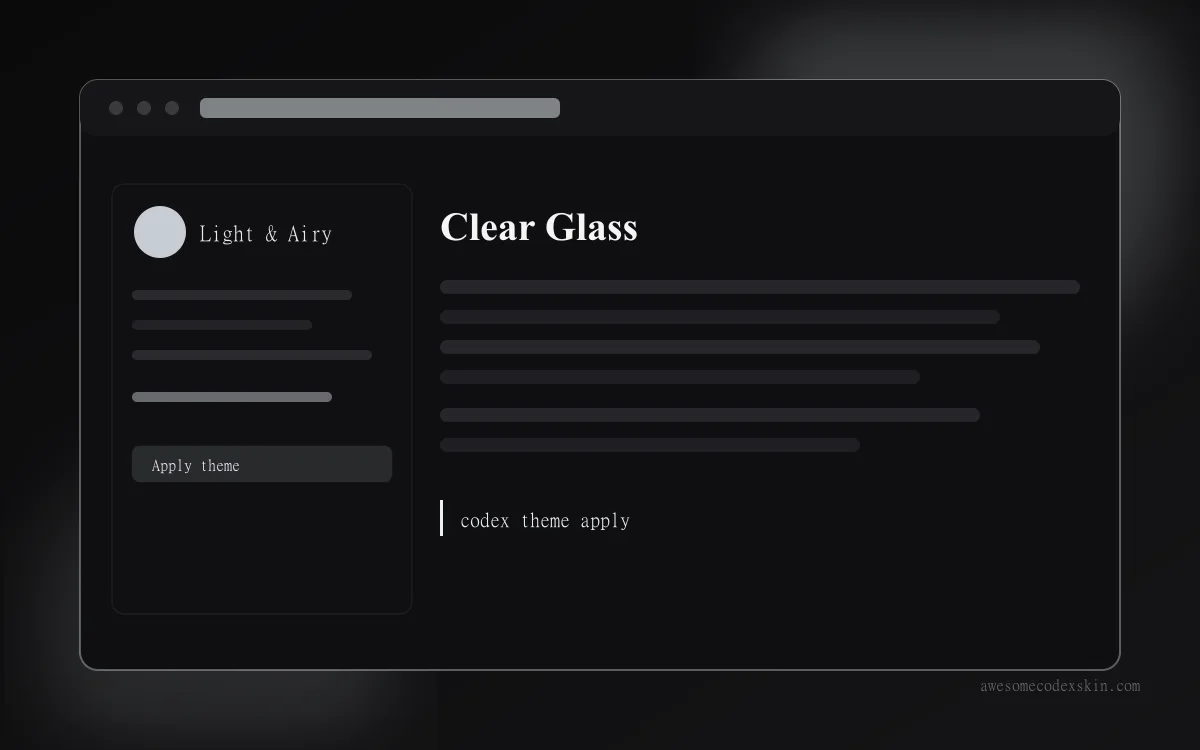 Clear Glass ~1,620 installs (est.)
 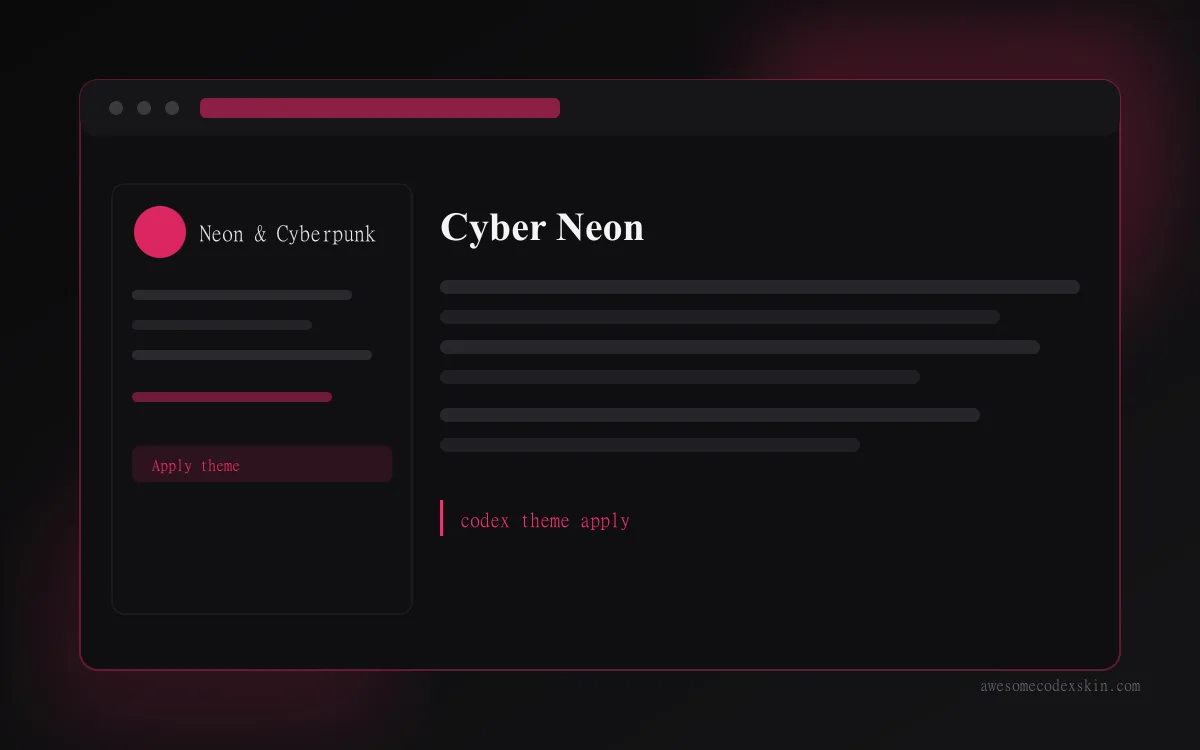 Cyber Neon ~1,180 installs (est.)
 Browse all skins .