Codex 스킨 설치 방법(데스크톱 및 CLI): 완전한 가이드
Codex Desktop 및 CLI 스킨 설치를 위한 단계별 안내서 — 복사-붙여넣기 가능한 명령어, Dream Skin과 같은 테마 엔진, CLI 테마, 테마 전환 및 제거 방법을 포함합니다. macOS 및 Windows를 지원합니다.
Codex 스킨을 사용하면 OpenAI Codex Desktop 및 Codex CLI의 외관을 새롭게 꾸며, 작업 공간을 본인의 취향에 맞출 수 있습니다 — 밤 시간에 어울리는 어두운 저조도 팔레트, 낮 시간에 적합한 파스텔 톤의 표면, 혹은 단순히 재미를 위한 네온 스타일까지 가능합니다.
이 가이드에서는 Codex 스킨을 설치하는 모든 방법을 다룹니다. 한 번의 복사-붙여넣기로 설치하는 방식부터 CLI 기반 테마 관리 도구를 활용하는 방식까지 모두 포함됩니다.
간단한 요약
이 인덱스에 등록된 대부분의 스킨은 동일한 방식으로 설치됩니다:
- 원하는 스킨을 선택하고 해당 상세 페이지를 엽니다.
- 설치 프롬프트를 복사하거나(또는
.codedrobe-theme형식의 스킨의 경우 테마 파일을 다운로드합니다). - 복사한 프롬프트를 Codex Desktop에 붙여넣거나, Codex CLI에서 명령어를 실행합니다.
- 테마 엔진이 즉시 팔레트를 적용합니다 — 대부분의 엔진에서는 재시작이 필요하지 않습니다.
이것으로 끝입니다. 스킨은 코드가 아닌 설정 파일이므로, 전환 속도가 빠르고 언제든지 되돌릴 수 있습니다.
방법 1: 복사-붙여넣기 설치 프롬프트(가장 빠름)
대부분의 Codex 스킨 — 특히 오픈소스 주입 엔진인 Codex Dream Skin에서 제공하는 엔진 프리셋 — 은 단 하나의 자연어 프롬프트로 설치할 수 있습니다.
모든 스킨 상세 페이지에서 설치 프롬프트 상자에는 다음과 같은 바로 붙여넣을 수 있는 지시문이 포함되어 있습니다:
Codex, apply the 'Clear Glass' light theme — a clean glassy low-distraction surface for my workspace.해당 문장을 복사한 후 Codex를 열고 붙여넣습니다. 엔진이 이 프롬프트를 해석하여, 해당 테마에 정의된 팔레트, 테두리, 강조 색상 등을 즉시 적용합니다.
참고: 프롬프트가 프리셋을 적용하는 경우, 엔진은 이를 저장하므로 나중에 한 번의 클릭으로 기본 설정으로 되돌릴 수 있습니다.
방법 2: 테마 파일 다운로드(.codedrobe-theme)
일부 스킨은 다운로드 가능한 .codedrobe-theme 파일 형태로 제공됩니다. 이 경우 다음 절차를 따르세요:
- 스킨 페이지에서 Download .codedrobe-theme 버튼을 클릭합니다.
- 파일을 원하는 위치에 저장합니다.
- Codex Desktop에서 해당 파일을 열면, 지원되는 엔진이 자동으로 테마를 가져옵니다.
이 방식은 codexskins.org와 같이 사전 제작된 테마 파일을 호스팅하는 갤러리에서 일반적으로 사용됩니다.
방법 3: CLI 테마 설치 명령어 사용
Codex CLI 테마는 다른 설치 경로를 따릅니다. tmtheme 설치 형식을 사용하는 스킨(예: Bearded Theme Ports)은 단 하나의 명령어로 설치할 수 있습니다:
curl -fsSL https://raw.githubusercontent.com/vufly/bearded-theme-ports/master/scripts/install-codex.sh | sh
# 이후 Codex CLI에서 다음 명령어 실행:
/theme Tokyo Night
Codex Themes CLI나 Codepilot과 같은 도구는 CLI 테마를 자동으로 관리해 줍니다 — 유효성 검사, 미리보기, 적용, 롤백, 그리고 일치하는 터미널 팔레트 내보내기까지 지원합니다.
어떤 엔진이 스킨을 지원하나요?
| 엔진 | 플랫폼 | 설치 방식 |
|---|---|---|
| Codex Dream Skin | macOS, Windows | 에이전트 프롬프트 / 프리셋 |
| Codex Skin Manager | macOS, Windows | 내장 관리자 |
| Codex Themes (desktop) | macOS | .codextheme 파일 가져오기 |
| ReTheme | macOS, Windows | 서명된 커뮤니티 테마 |
| Codex Themes CLI | 크로스플랫폼 | CLI /theme 명령어 |
| Codepilot | 크로스플랫폼 (npm) | 내장 TUI /skin 명령어 |
스킨 전환 또는 기본값으로 되돌리기
- 프리셋 기반 엔진(Dream Skin 등): 엔진이 기본 프리셋을 유지하므로, 일반적으로 “기본값 복원” 버튼을 클릭하면 원래 외관으로 돌아갑니다.
- CLI:
/theme명령어로 설치된 테마 목록을 확인할 수 있으며, 다른 이름을 지정해 다시 실행하면 즉시 전환됩니다. - 테마 파일: 이전에 사용했던
.codedrobe-theme파일을 다시 가져오거나, 엔진의 기본 설정을 재실행하면 됩니다.
시작하기 좋은 인기 스킨들
- Gothic Void Expedition — 엔진 내장 어두운 기본 스킨
- Clear Glass — 낮 시간에 어울리는 깨끗한 유리 질감의 밝은 스킨
- Monokai Stone — 전통적인 CLI 팔레트
- Hatsune Miku — 청록색 계열의 보컬로이드 에너지 스킨
전체 인덱스에서 100개 이상의 추가 스킨을 둘러보거나, 엔진 수준의 설정 세부 정보는 튜토리얼을 참고하세요.
이 글에서 소개한 스킨
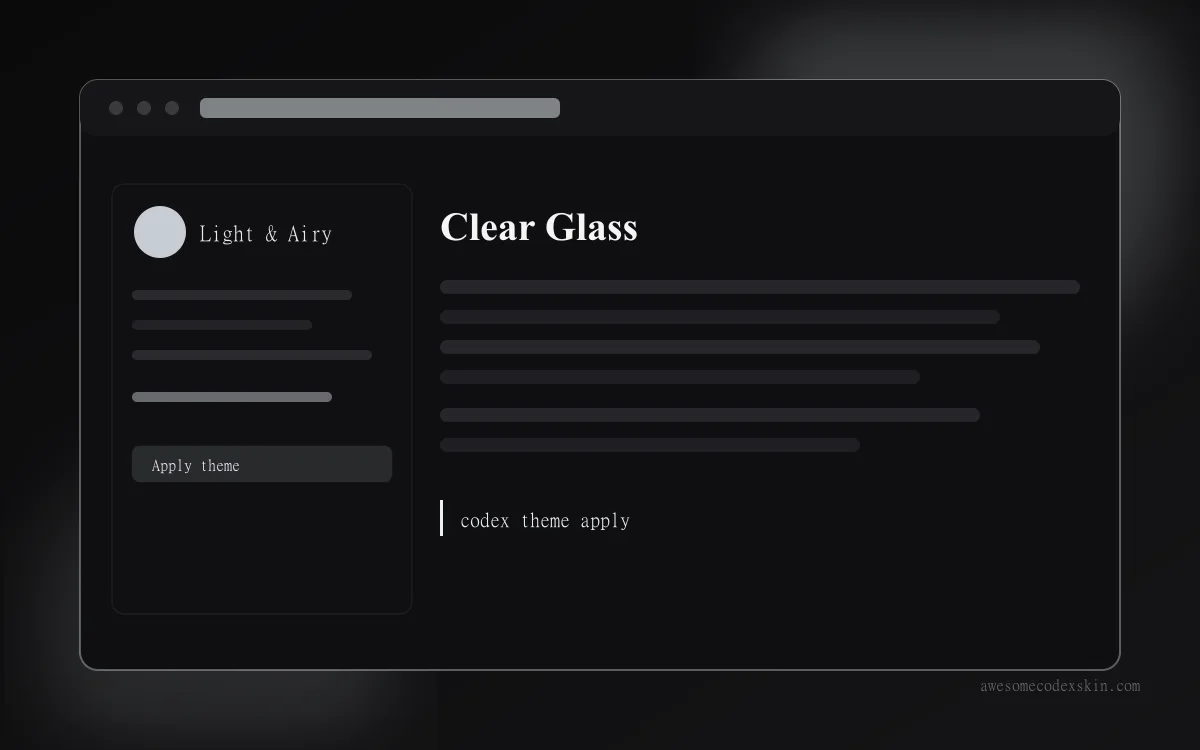 Clear Glass 설치 약 1,620회(추정)
 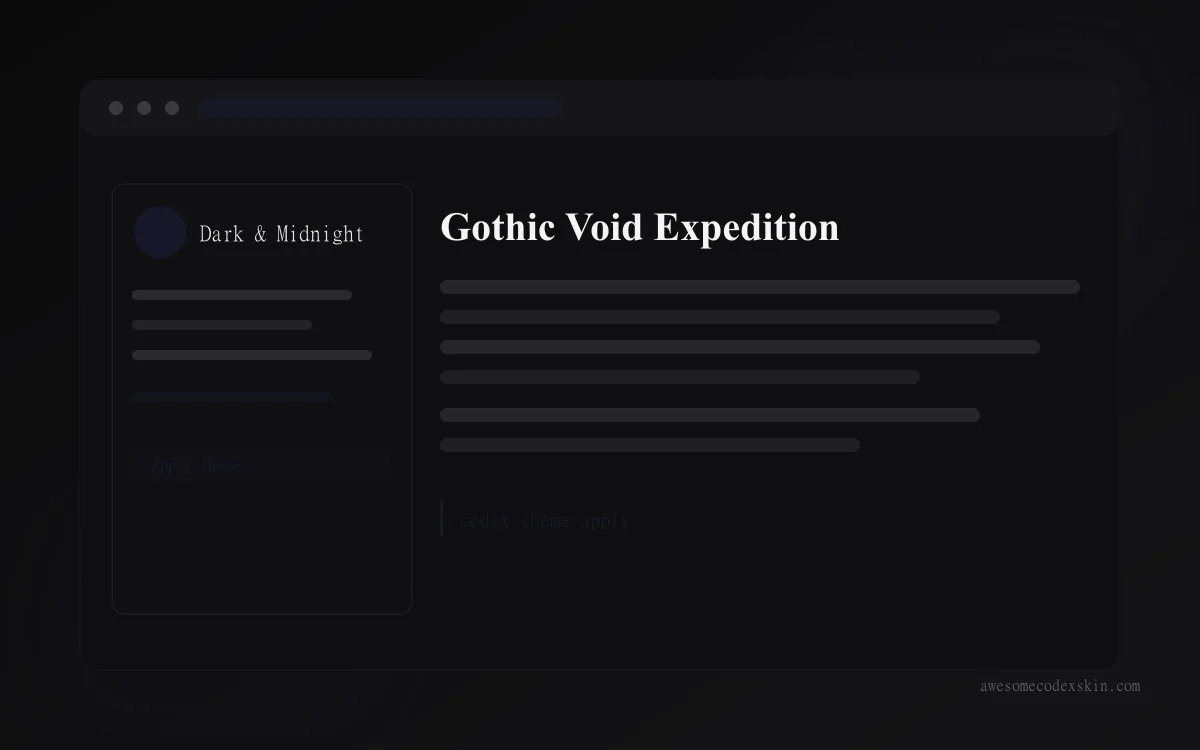 Gothic Void Expedition 설치 약 2,103회(추정)
 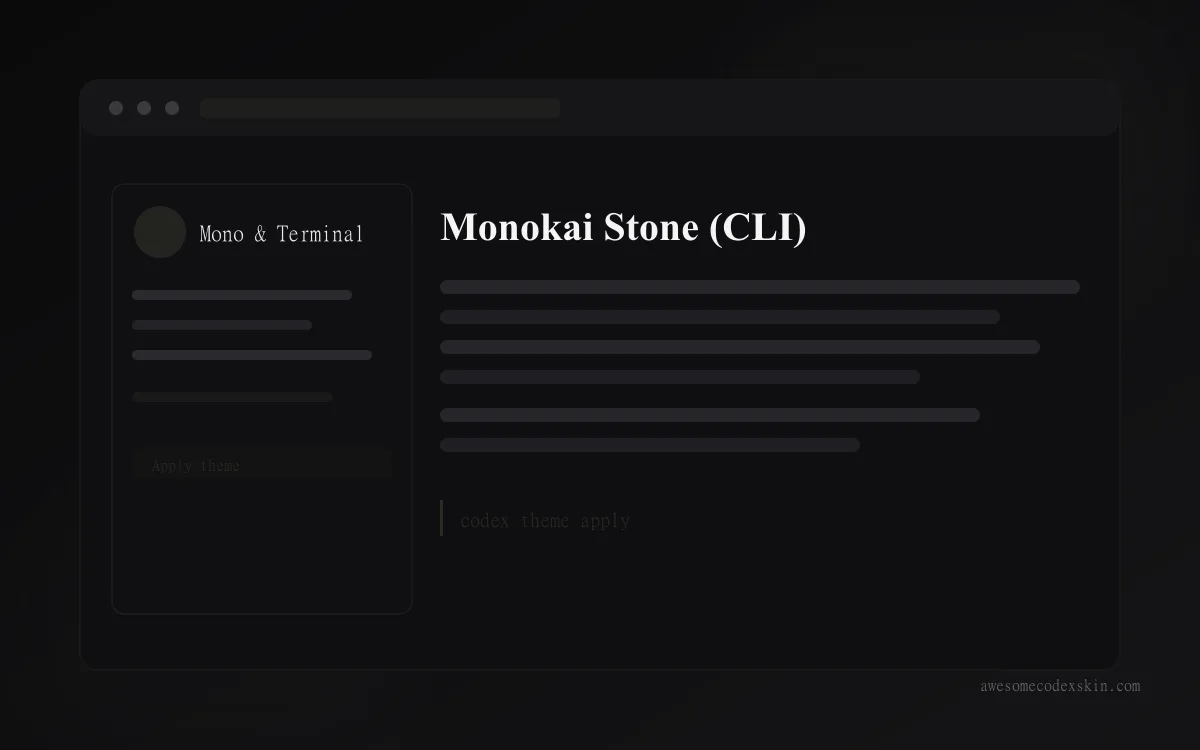 Monokai Stone (CLI) 설치 약 1,500회(추정)
 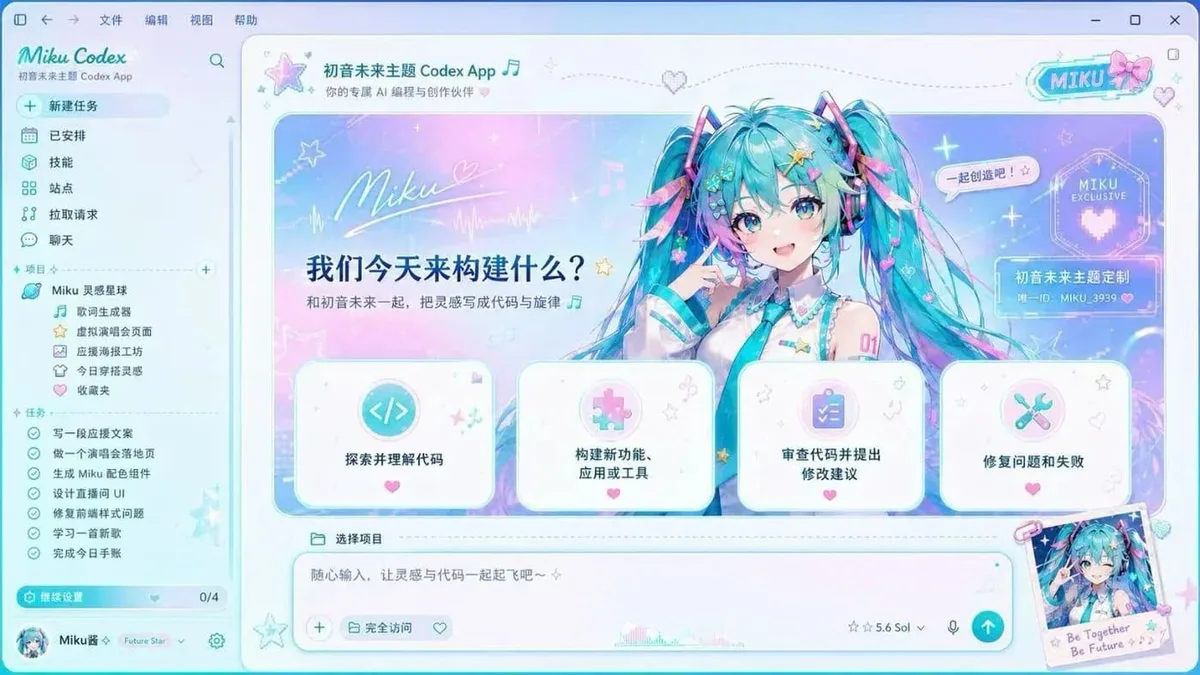 Hatsune Miku 설치 약 2,540회(추정)
 모두 보기 skins .