Как установить темы Codex (для настольных приложений и CLI): полное руководство
Пошаговое руководство по установке тем Codex Desktop и CLI — готовые команды для копирования и вставки, движки тем, такие как Dream Skin, темы для CLI и способы переключения или удаления тем. Поддержка macOS и Windows.
Скины Codex позволяют изменить внешний вид OpenAI Codex Desktop и Codex CLI так, чтобы рабочая среда соответствовала вашим предпочтениям: тёмная низкоосвещённая палитра для ночных сессий, пастельная поверхность для дневного использования или неоновый стиль — просто ради удовольствия.
В этом руководстве описаны все способы установки скинов Codex: от простого копирования одной команды до использования менеджеров тем для CLI.
Краткая инструкция
Большинство скинов в этом каталоге устанавливаются одинаково:
- Выберите скин и откройте его страницу с подробным описанием.
- Скопируйте команду установки (или скачайте файл темы — для скинов в формате
.codedrobe-theme). - Вставьте команду в Codex Desktop или выполните её в Codex CLI.
- Движок тем немедленно применит цветовую палитру — перезапуск не требуется в большинстве случаев.
Всё готово. Скины представляют собой конфигурацию, а не код, поэтому переключение происходит быстро и полностью обратимо.
Способ 1: Установка через копирование и вставку команды (самый быстрый)
Большинство скинов Codex — особенно предустановленные наборы движка из проекта Codex Dream Skin, открытого движка для внедрения тем — устанавливаются с помощью одной естественно-языковой команды.
На странице описания любого скина в блоке Команда установки содержится готовая к вставке инструкция, например:
Codex, применить светлую тему «Clear Glass» — чистую стеклянную поверхность с минимальным отвлечением от работы в моей среде.Скопируйте её, откройте Codex и вставьте. Движок распознаёт команду и применяет заданные в теме цветовую палитру, границы и акцентные цвета.
Совет: если команда применяет предустановленный набор, движок сохраняет его, и вы сможете вернуться к исходной теме одним кликом.
Способ 2: Загрузка файла темы (.codedrobe-theme)
Некоторые скины распространяются как загружаемый файл .codedrobe-theme. Для их установки:
- Нажмите кнопку Скачать .codedrobe-theme на странице скина.
- Сохраните файл в удобное место.
- Откройте его в Codex Desktop — поддерживаемые движки автоматически импортируют тему.
Этот способ часто используется на галереях вроде codexskins.org, где размещаются готовые файлы тем.
Способ 3: Установка темы CLI с помощью команды
Темы для Codex CLI устанавливаются по другому пути. Скины с форматом установки tmtheme (например, порты темы Bearded Theme) устанавливаются одной командой:
curl -fsSL https://raw.githubusercontent.com/vufly/bearded-theme-ports/master/scripts/install-codex.sh | sh
# затем в Codex CLI выполните:
/theme Tokyo Night
Инструменты вроде Codex Themes CLI и Codepilot управляют темами CLI: проверяют их корректность, позволяют предварительно просмотреть, применить, откатить изменения и экспортировать совместимые цветовые схемы для терминала.
Какие движки поддерживают скины?
| Движок | Платформы | Способ установки |
|---|---|---|
| Codex Dream Skin | macOS, Windows | Команда-агент / предустановка |
| Codex Skin Manager | macOS, Windows | Встроенный менеджер |
| Codex Themes (desktop) | macOS | Импорт .codextheme |
| ReTheme | macOS, Windows | Подписанные темы сообщества |
| Codex Themes CLI | Кроссплатформенный | CLI-команда /theme |
| Codepilot | Кроссплатформенный (npm) | Встроенный TUI /skin |
Как переключиться на другой скин или отменить изменения
- Движки с предустановками (Dream Skin и др.): движок сохраняет исходную предустановку — обычно достаточно нажать кнопку «Восстановить стандартную тему», чтобы вернуть первоначальный внешний вид.
- CLI: команда
/themeвыводит список установленных тем; повторно выполните её с другим именем, чтобы переключиться. - Файлы тем: повторно импортируйте ранее сохранённый файл
.codedrobe-themeили запустите команду восстановления стандартной темы движка.
Популярные скины для начала
- Gothic Void Expedition — встроенная тёмная тема по умолчанию в движке.
- Clear Glass — стеклянная светлая поверхность для дневного использования.
- Monokai Stone — классическая цветовая схема для CLI.
- Hatsune Miku — энергичная сине-зелёная тема в стиле вокалоида.
Просмотрите полный каталог с более чем 100 скинами или ознакомьтесь с нашим учебным пособием для получения подробных инструкций по настройке движков.
Скины из этого поста
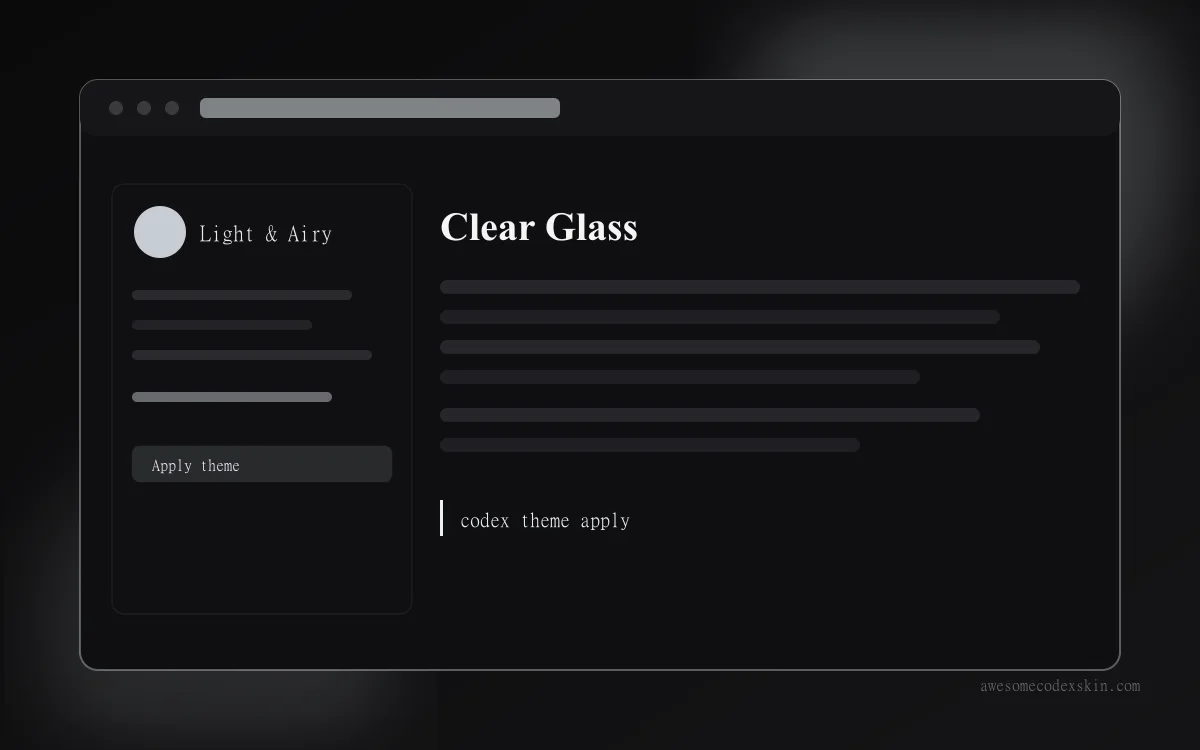 Clear Glass ~1,620 установок (оценка)
 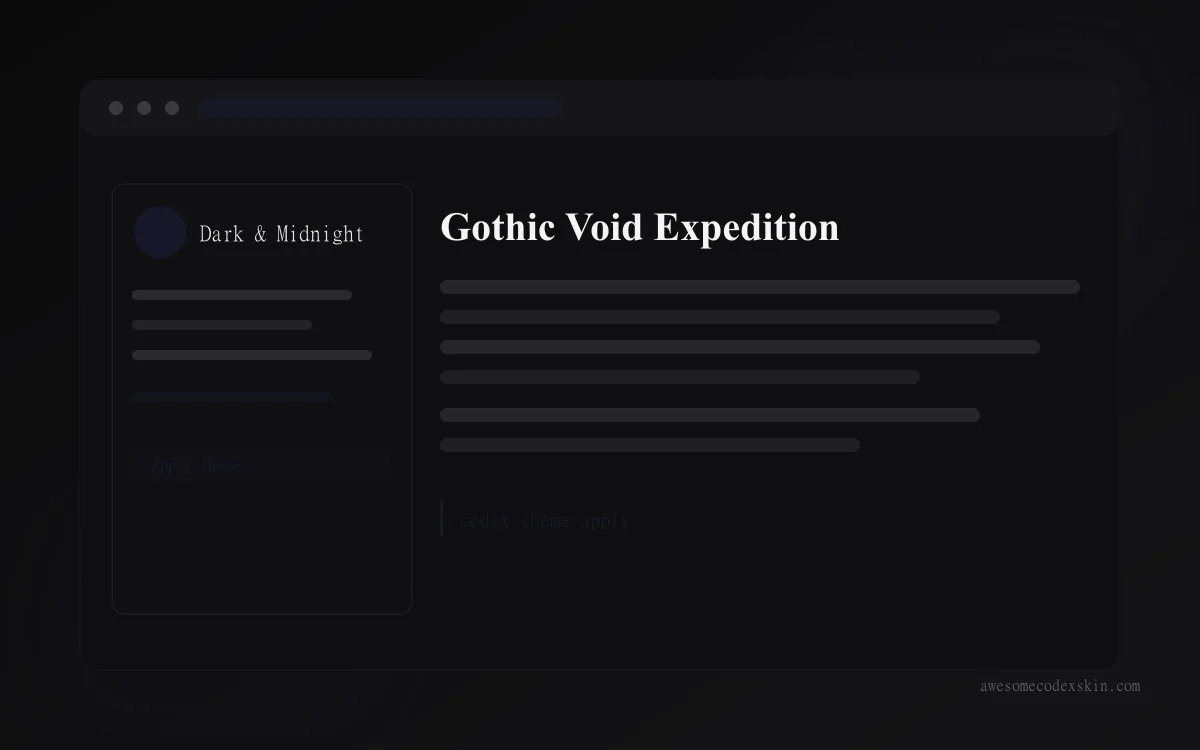 Gothic Void Expedition ~2,103 установок (оценка)
 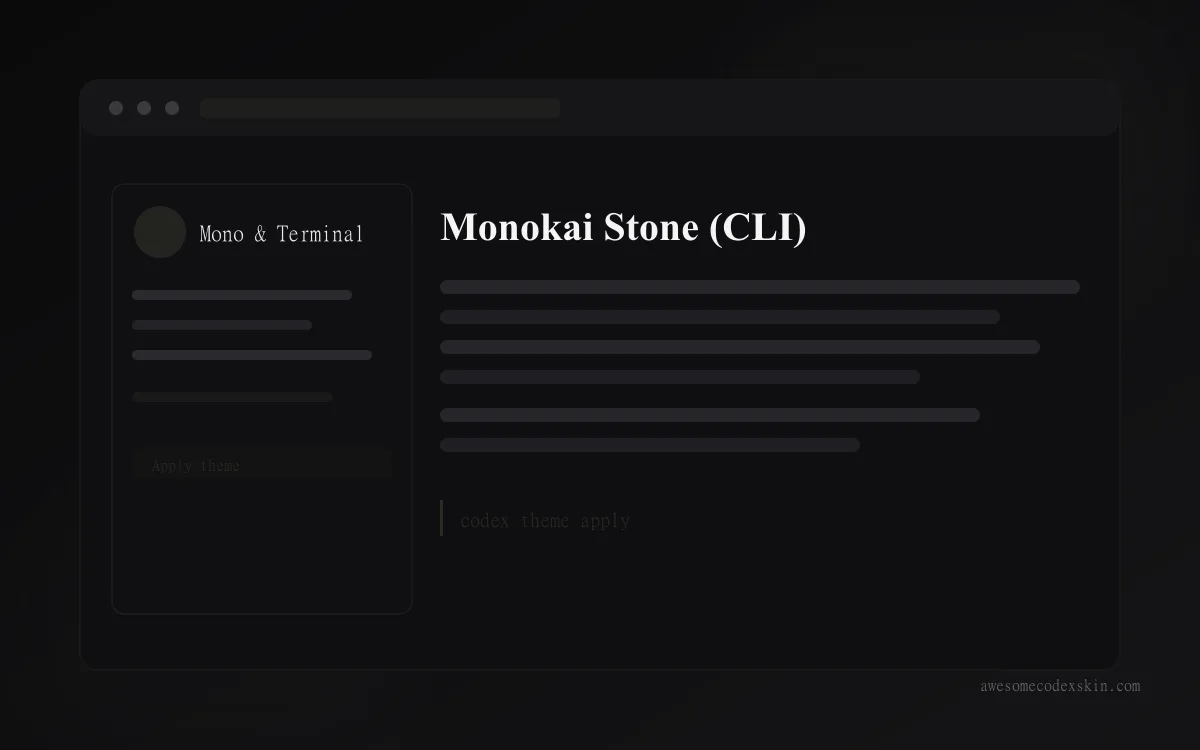 Monokai Stone (CLI) ~1,500 установок (оценка)
 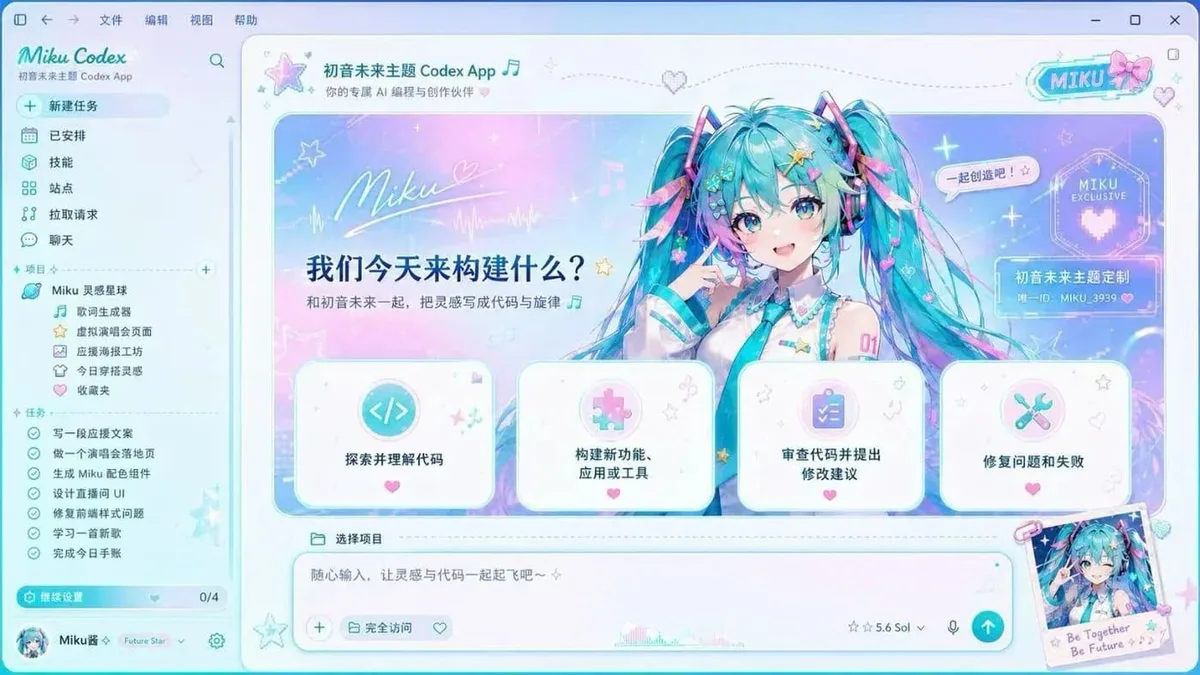 Hatsune Miku ~2,540 установок (оценка)
 Посмотреть все skins .