How to Install Codex Skins on Windows
Step-by-step guide to installing Codex skins on Windows 10 and 11. Fix common installation failures and get your favorite theme applied in minutes.
How to Install Codex Skins on Windows
Installing a Codex skin on Windows is straightforward, but it is easy to run into the same three mistakes over and over. This guide walks you through the correct process and fixes the most common installation failures.
What You Need
Before you start, make sure you have:
- Codex CLI installed and working
- A skin file (.codedrobe) downloaded from the Codex Skin Studio gallery
- Administrator access (only required for system-wide installs)
Step 1: Download the Skin
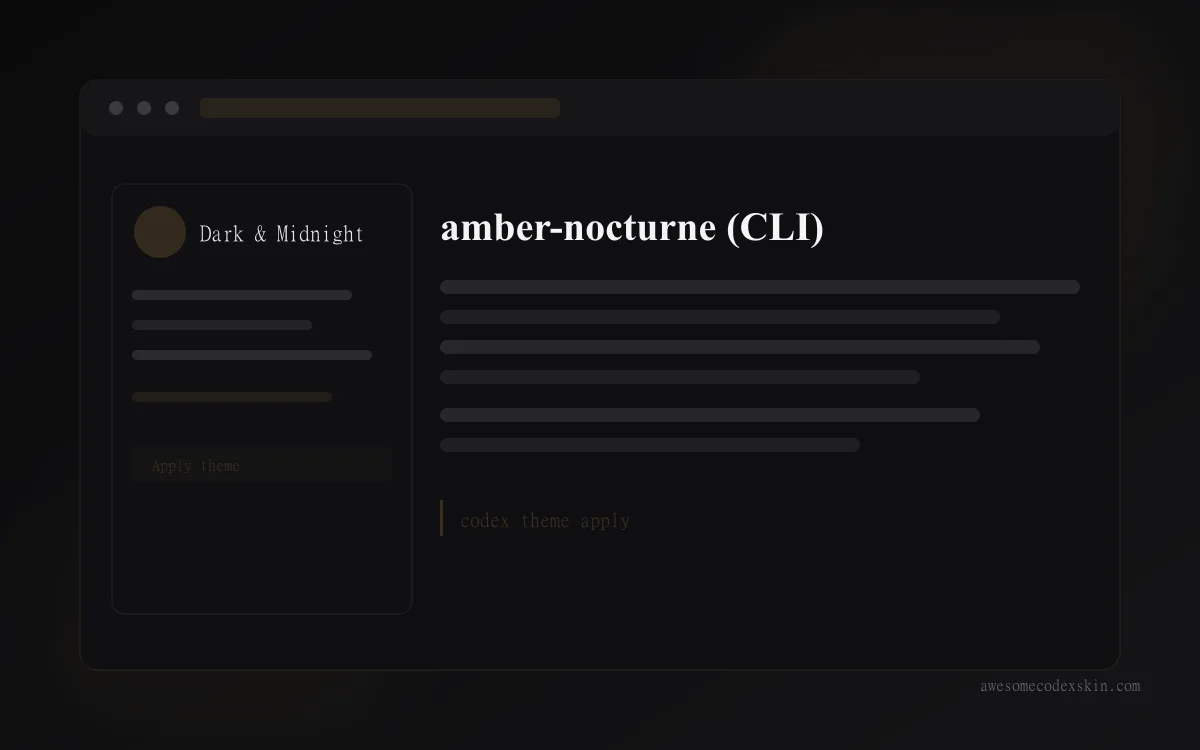
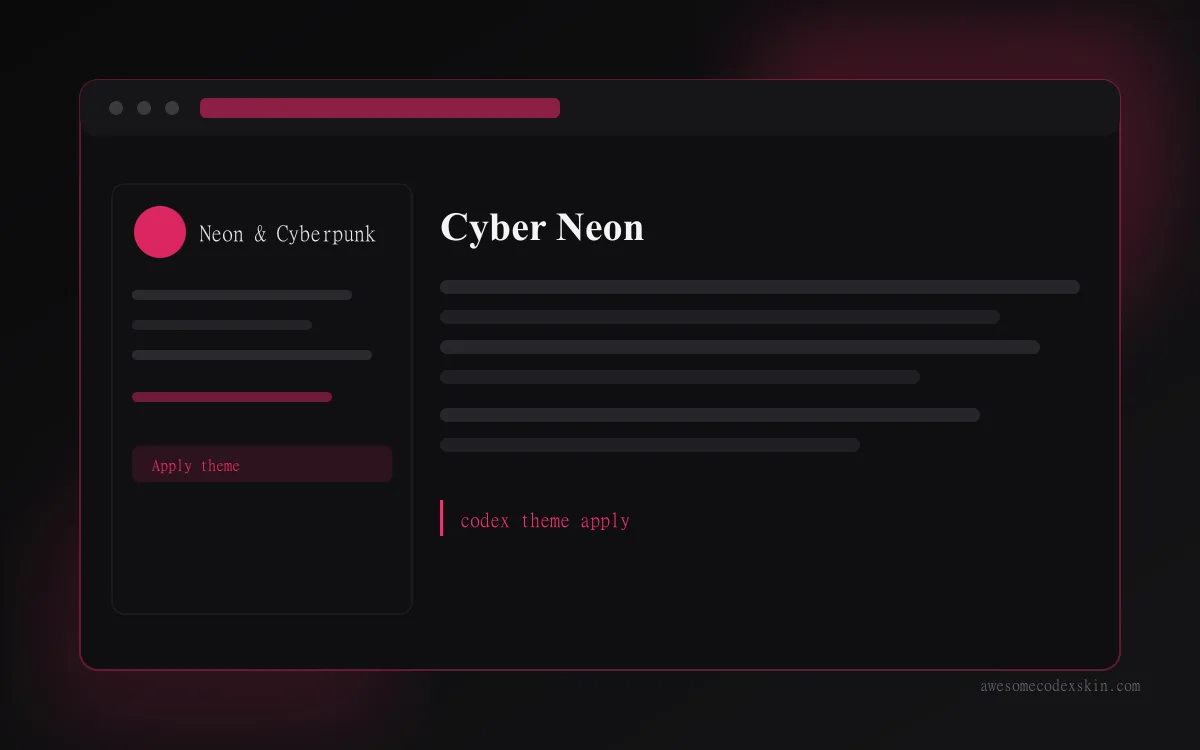
Go to the Codex Skin Studio gallery and browse the available themes. Each skin has a preview, a description, and a download button. Click the button next to the skin you want — for this guide we use Amber Nocturne and Cyber Neon as examples.
The file downloads as a .codedrobe file. Note where it is saved.
Step 2: Install via Codex CLI
Open a terminal and run:
```bash codex skin install ~/Downloads/amber-nocturne.codedrobe ```
Replace the path with wherever you saved the file. Codex will extract the theme and register it in your skin directory.
Step 3: Activate the Skin
After installation, activate it:
```bash codex skin use amber-nocturne ```
Your terminal should refresh immediately with the new theme applied. If it does not, restart Codex with `codex restart`.
Common Installation Failures
Failure 1: “Skin not found”
This happens when the path is wrong or the file is corrupted. Verify the file exists with `ls` and try downloading again if the checksum does not match.
Failure 2: “Theme not applying”
The skin name in the command does not match the registered name. Run `codex skin list` to see the exact name Codex assigned during installation.
Failure 3: “Permission denied”
You are trying to install a system-wide skin without admin rights. Either run the terminal as administrator or install to your user directory with the `—user` flag.
Failure 4: “Conflicting theme”
Another skin is already set as default. Codex only applies one theme at a time. Run `codex skin list` to see what is active and switch if needed.
Failure 5: “Old version incompatibility”
Your Codex CLI version is too old for the skin format. Run `codex update` to get the latest version before installing new skins.
Failure 6: “Syntax error in theme file”
The .codedrobe file is malformed. This is rare but happens with unofficial skins. Stick to skins from the official gallery to avoid this.
Failure 7: “Terminal not refreshing”
Your terminal emulator may not support the color codes in the theme. Try switching to a different terminal (Windows Terminal is recommended) or updating your terminal’s configuration.
Tips for a Smooth Install
- Always download skins from the official gallery
- Keep Codex updated before installing new themes
- Use `codex skin list` to check what is already installed
- Keep a backup of your current theme before switching
FAQ
Can I install multiple skins at once? Yes. Codex stores all installed skins. You only activate one at a time.
Will a skin break my existing configuration? No. Skins only change colors and fonts. They do not touch your keybindings or workflow settings.
How do I uninstall a skin? Run `codex skin remove
Are Windows skins different from macOS skins? The format is the same. Some skins include platform-specific settings, but most work cross-platform.
Next Steps
Now that your skin is installed, try pairing it with a matching terminal theme. See our guide on syncing terminal and Codex skins for tips on keeping your whole workspace consistent.
All skins featured in this guide are available in the Codex Skin Studio gallery.
Скины из этого поста
Посмотреть все skins .